Last Updated on: 22nd November 2023, 01:50 am
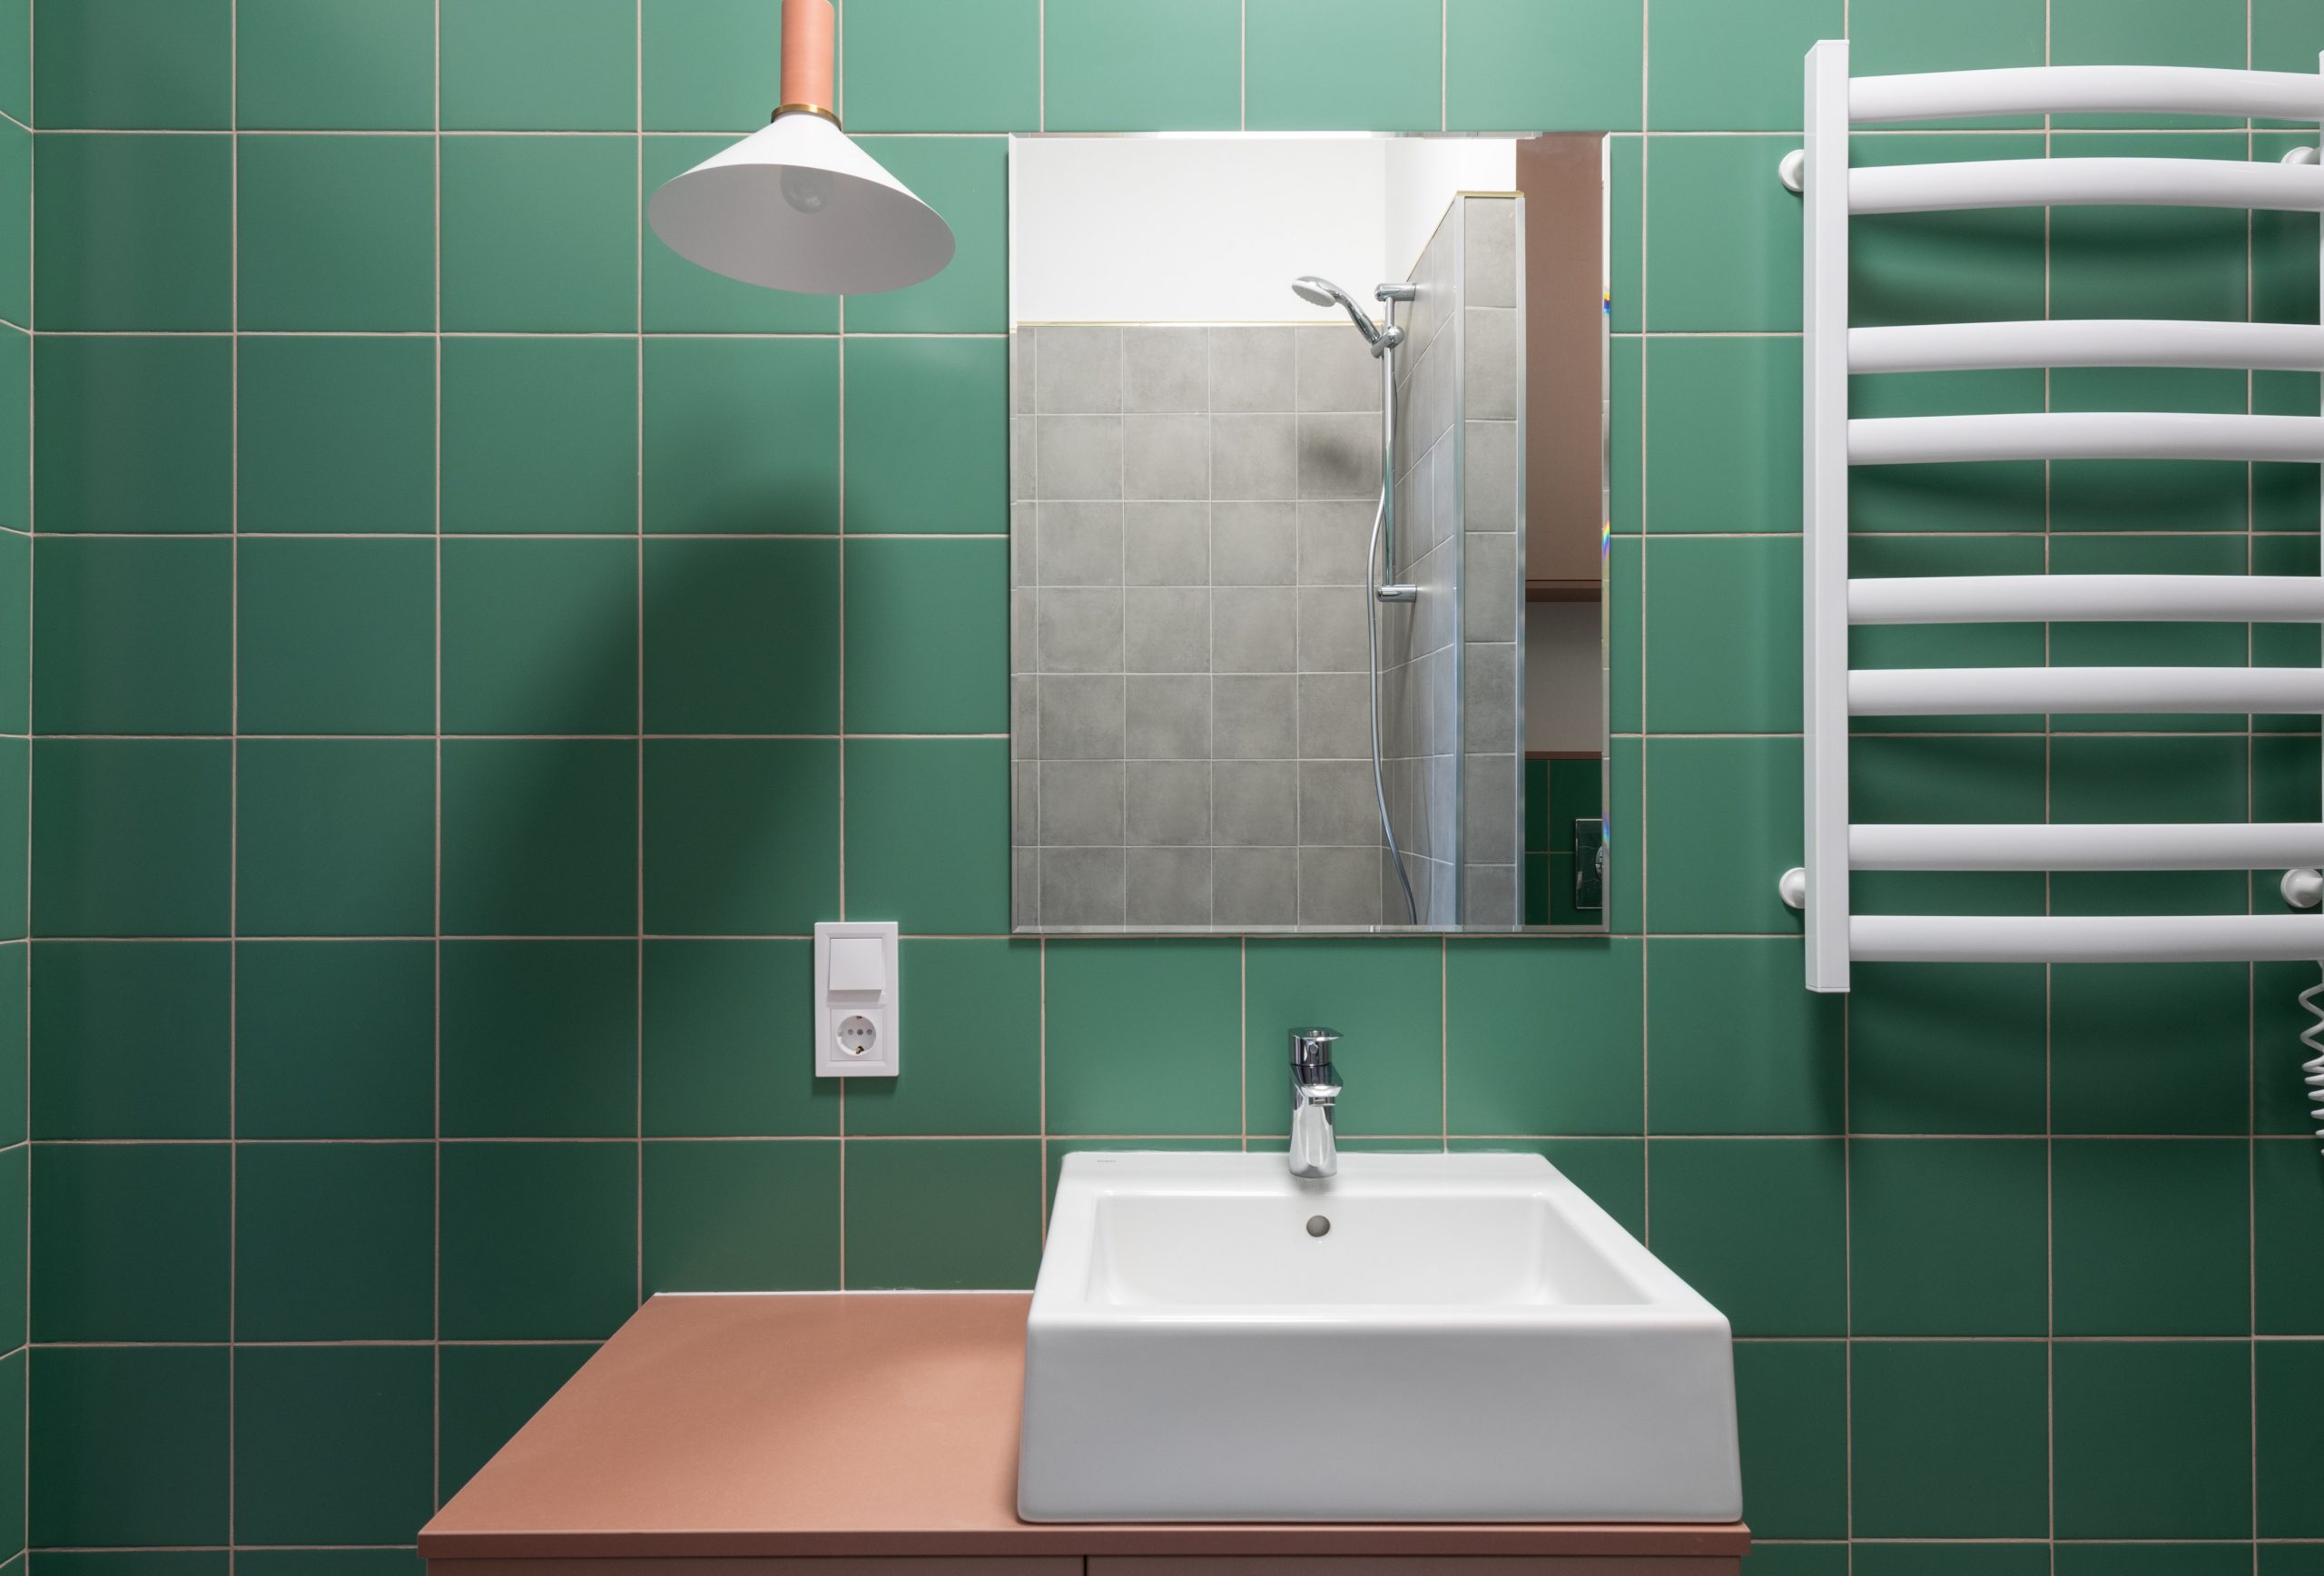
Upgrading your bathroom’s aesthetics doesn’t have to be a daunting task. Stylish wall panels offer an excellent solution to revamp your bathroom’s look without the hassle of traditional tiling. In this comprehensive installation guide, we’ll walk you through the steps to effortlessly transform your bathroom using these modern wall panels. Whether you’re a DIY enthusiast or a homeowner looking for a simple yet effective upgrade, this guide will provide you with the knowledge and confidence to achieve stunning results.
Materials You’ll Need: Before diving into the installation process, gather the following materials:
- Stylish Wall Panels
- Adhesive or Mounting Hardware
- Level and Measuring Tape
- Saw (if panels need trimming)
- Caulk and Caulk Gun
- Notched Trowel (for adhesive application)
- Sandpaper (for smoothing edges)
Step-by-Step Installation Guide:
Step 1: Prepare Your Bathroom
- Clear the bathroom of any obstacles and remove accessories from the walls.
- Ensure the existing wall surface is clean, dry, and free from debris.
Step 2: Measure and Plan
- Measure the height and width of each wall you intend to cover with panels.
- Purchase wall panels that match your measurements. Panels can often be cut to size if necessary.
Step 3: Panel Preparation
- Lay out the wall panels in the bathroom to determine their arrangement and sequence.
- If needed, trim panels to fit corners or edges using a saw. Sand any rough edges.
Step 4: Applying Adhesive
- Follow the manufacturer’s instructions for the adhesive application process.
- Apply adhesive to the back of the first panel using a notched trowel for even distribution.
- Press the panel firmly onto the wall, ensuring it aligns with your measurements and layout.
Step 5: Installing Panels
- Continue applying adhesive and installing panels one by one, following your planned layout.
- Use a level to ensure panels are perfectly straight and aligned.
Step 6: Corner and Edge Installation
- For corners, cut panels to fit and ensure they meet seamlessly.
- Install edge profiles or trims to provide a clean and finished look to exposed edges.
Step 7: Final Touches
- Once all panels are installed, allow the adhesive to dry as per the manufacturer’s recommendations.
- Apply caulk along the joints between panels and around edges for a watertight seal and a polished finish.
Step 8: Clean and Enjoy
- Clean the panels and your bathroom thoroughly to remove any installation residue.
- Now, step back and admire your transformed bathroom with its stylish new wall panels.
Maintenance Tips:
- Regularly clean the panels with mild soap and water to maintain their appearance.
- Avoid using abrasive cleaners that could damage the panels’ surface.
- Check for any loose panels or edges and promptly reattach using adhesive if needed.
With this comprehensive installation guide, you’re well-equipped to transform your bathroom using stylish bathroom wall panels. By following these step-by-step instructions and taking proper care, you can achieve a modern and chic bathroom upgrade that will leave you and your guests impressed. Enjoy your revitalised space and the sense of accomplishment that comes with your DIY project!